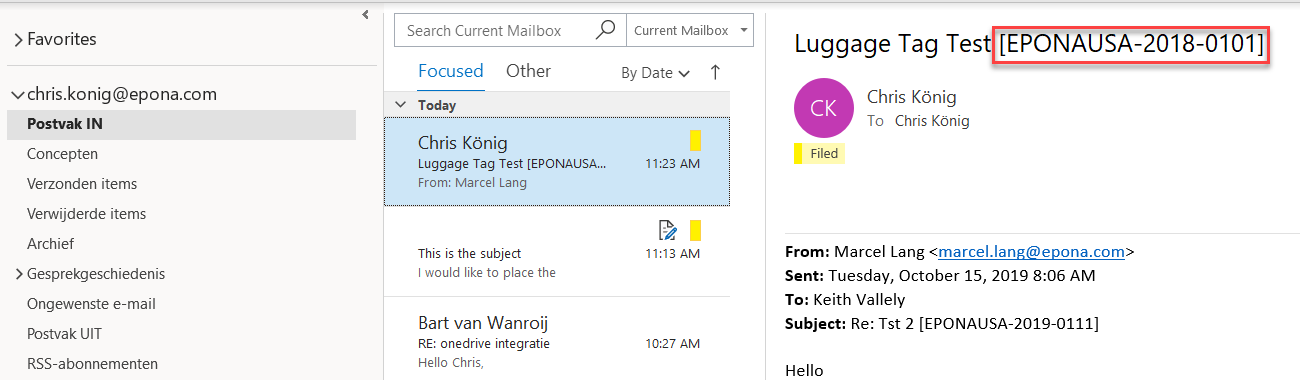
Users can assign luggage tags to emails, which automates moving and copying emails to SharePoint site locations. Tagged emails are filed into their designated folders. The original email is left in the user’s Outlook Sent Items folder. The email will be assigned to the category “Filed” with a yellow Categories box, and yellow stripe in the email.
By default, the tag consists of the customer name and the client matter number (i.e. [District-2535]). Your set up may be different depending on how the design was determined. Below is an example of what a luggage tag looks like:
Create Luggage / Metadata Tag
- Create an email and click the Send
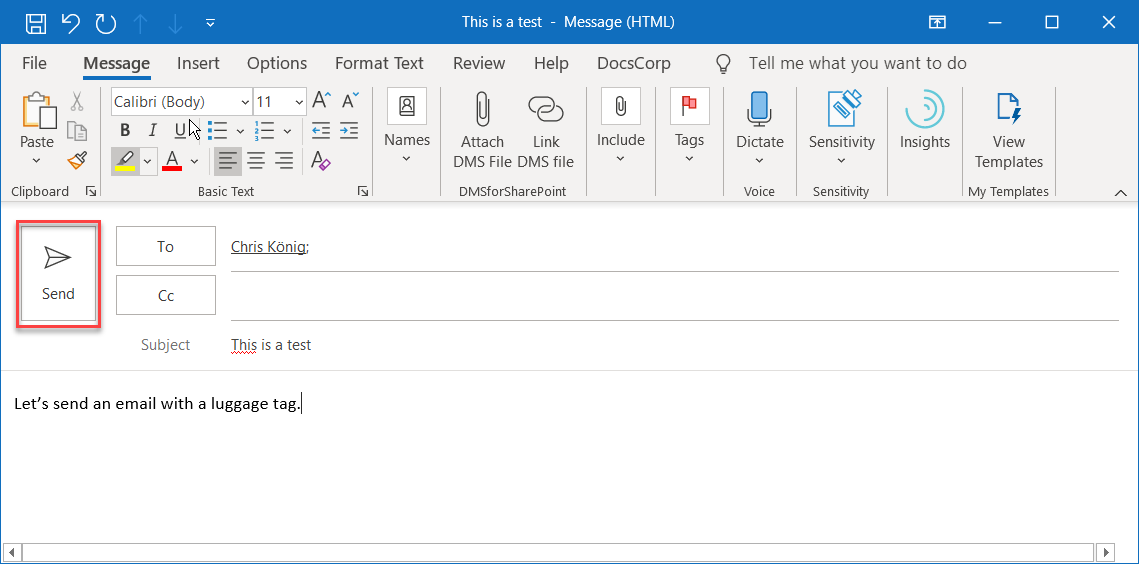
- The File email dialogue box opens, as shown below. The only information you can modify here is the Destination. You also have the option to send the email without filing it.
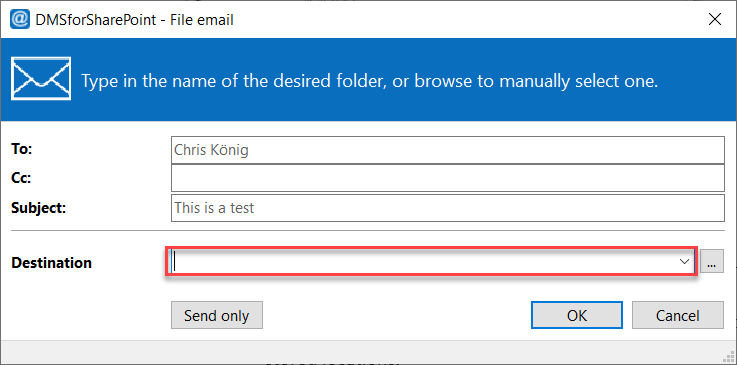
- Determine the destination folder by either:
-
- Typing the folder location in the text filed to the right of the Destination
- Clicking the dropdown arrow to the right of the text field to view recently stored locations.
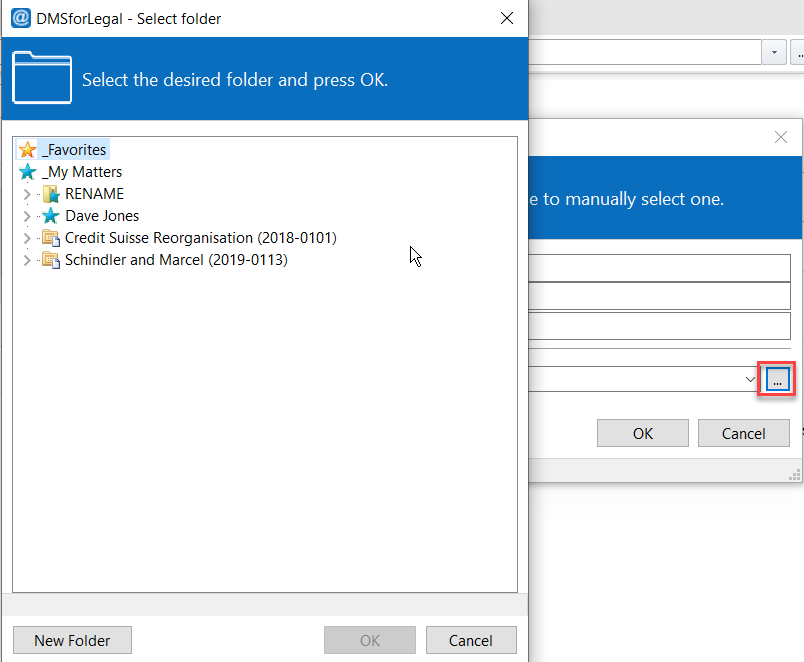
- Clicking the […] button to browse for folder location. If you choose this option another dialogue box will open showing your DMSforLegal folder tree, for you to directly select the folder you wish to save to.
*Note: Users can now create a new subfolder, by clicking on New Folder.
- Click OK. When the email is received by the recipient, a luggage tag is added to the subject line.
*Note: Luggage tags do not display in SharePoint folder views. Luggage tags display with emails in Outlook’s Saved Items folder, and in the user’s mailbox when tagged emails are received.